Picking up from where I left off last time, I was determined to make a raku kiln of my own. So, looking at images I took while at Mike’s and the video from Simon Leach, I ordered some materials. When the materials all showed up I excitedly started forming the bottom half, cut the right sizes for the ends and then realized I didn’t have enough of the wire mesh for the whole form, let’s call that mistake #1. Mistake #2 then would be the amount of ceramic wool I purchased, falling way too short. I had not done adequate research and while there is much I appreciate about Amazon, the one-click purchase is not one of them! So I re-ordered some wire, found a new place for more appropriate wool, and fit in the rest of the building of the kiln. One aspect that helped me get it done was a conversation with a friend around going to NCECA and while catching up and making plans, I put out there that I would fire the kiln before the end of January.

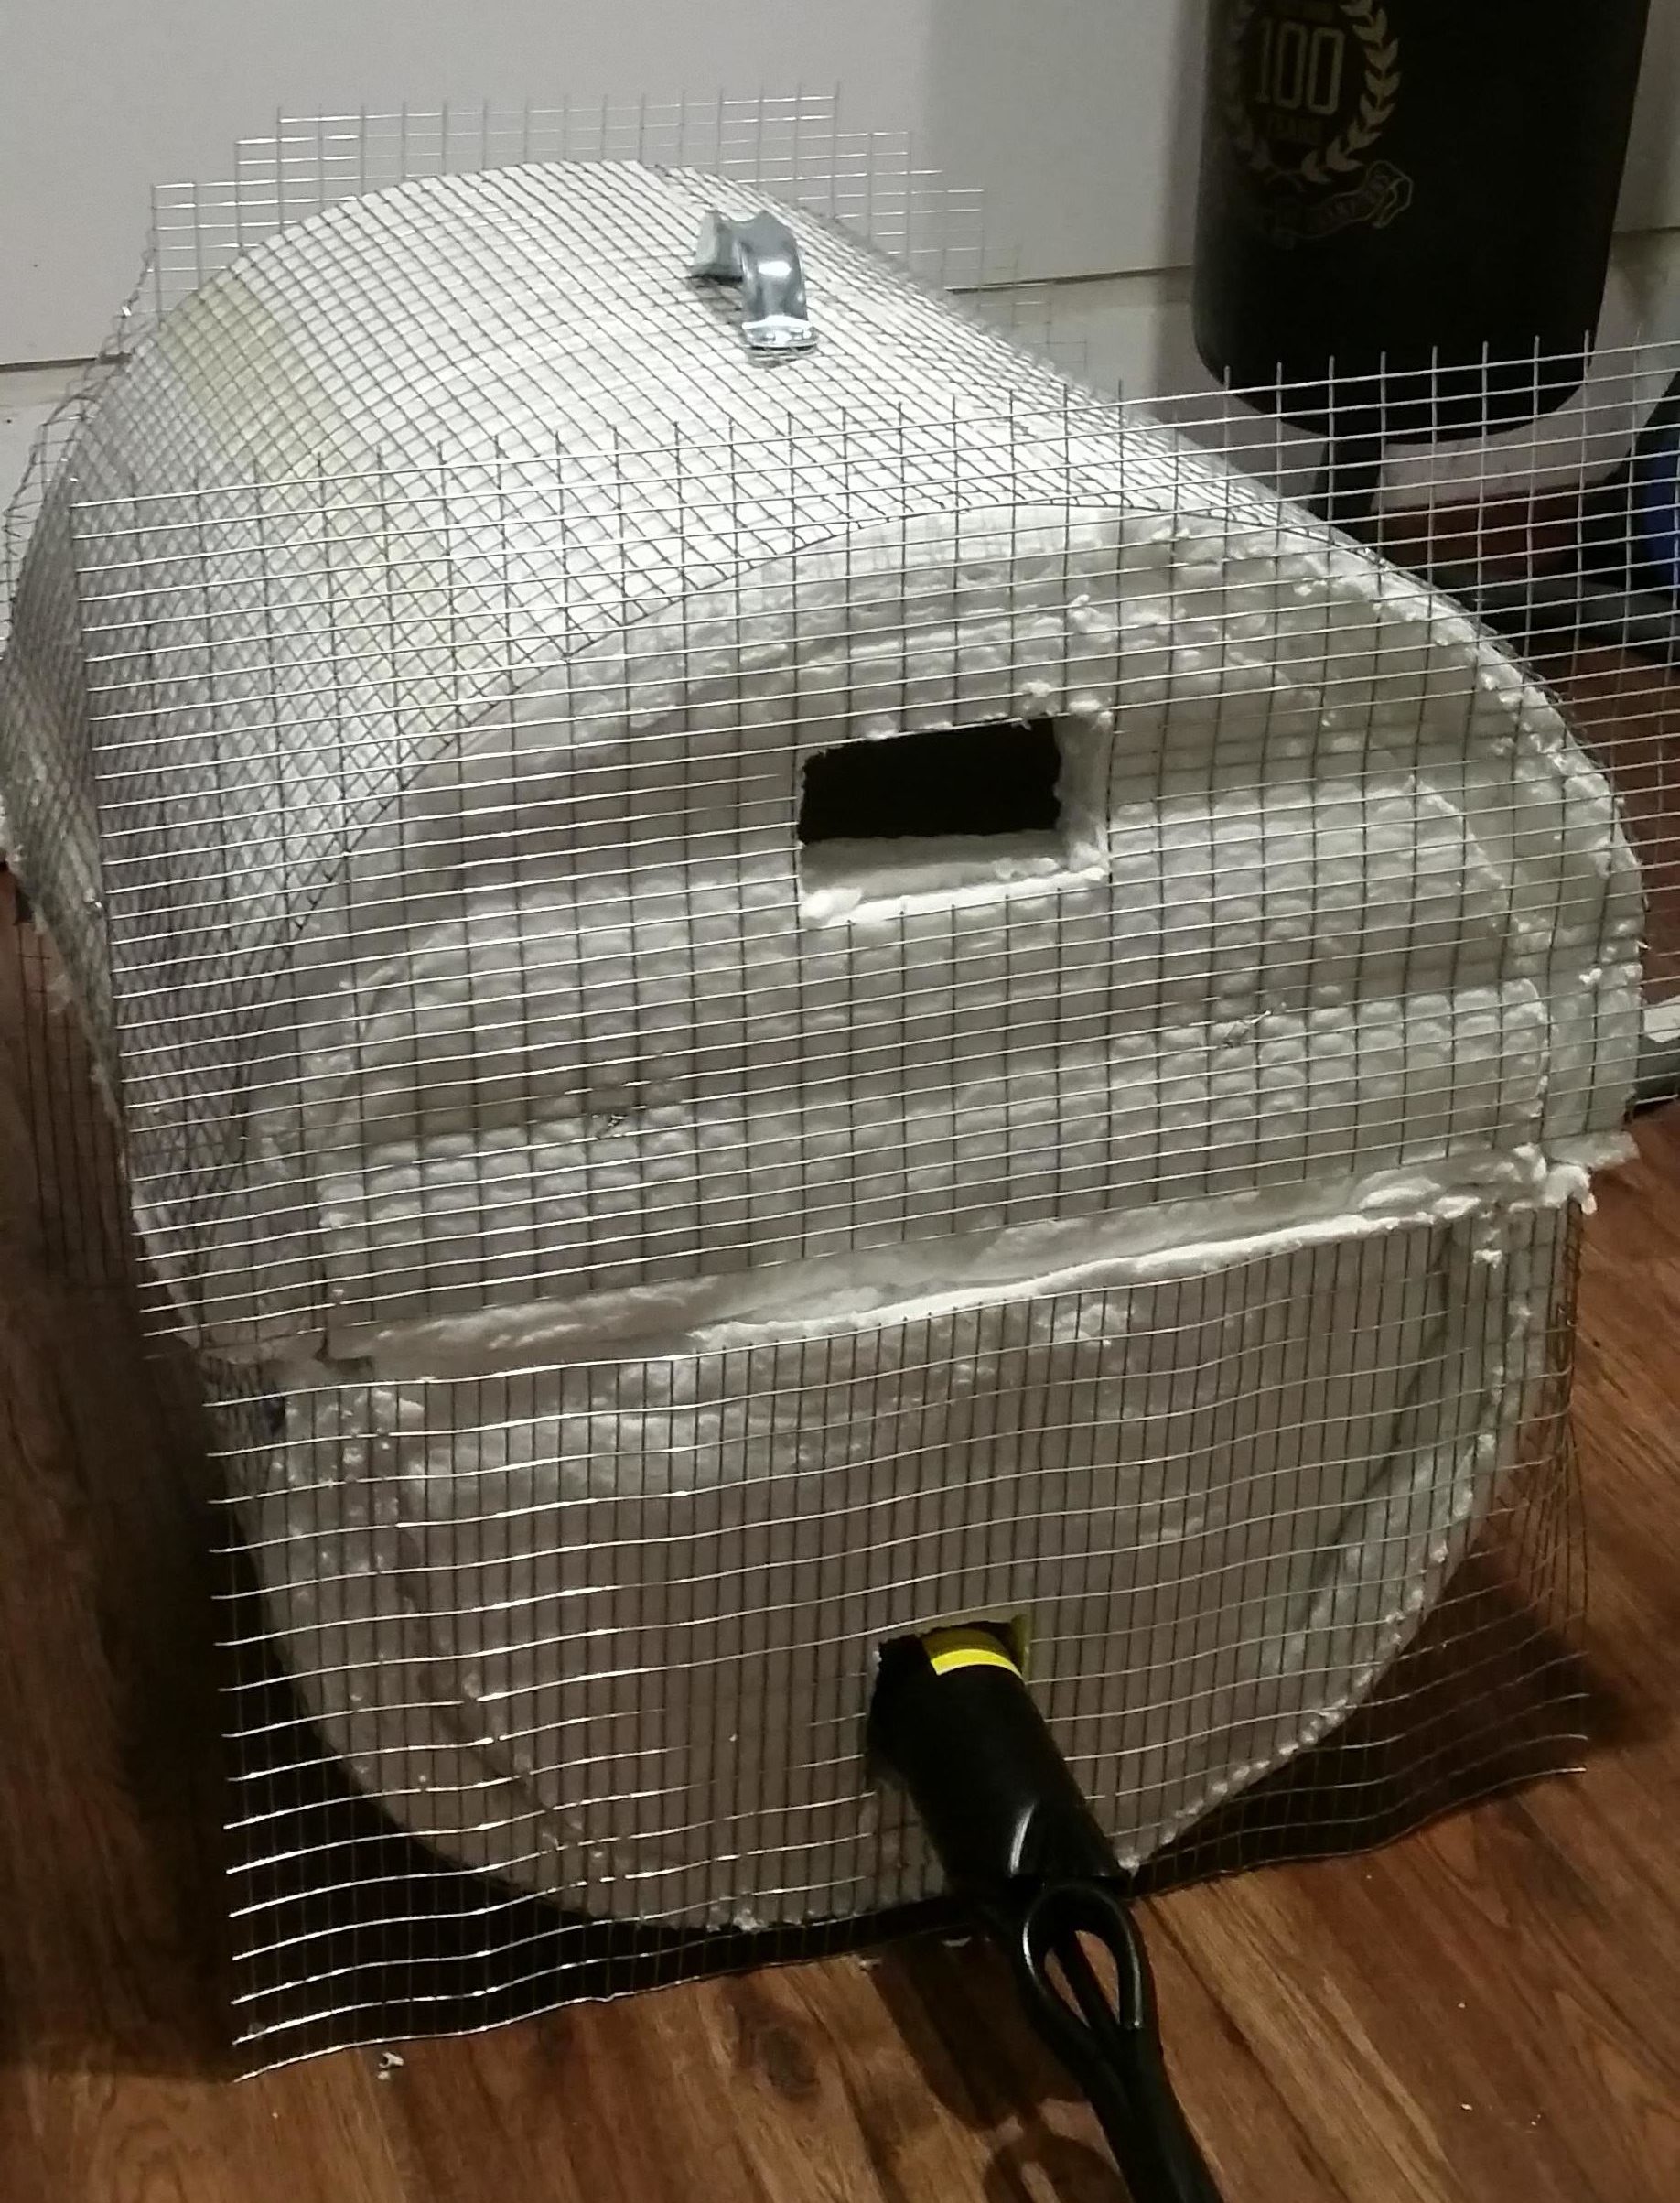
So there it is, the first kiln I built. Rough around the edges and with plenty of room for growth. In all it was a fun project and as I’ve said previously, I’ve learned a great deal about what not to do. For now though, it’s been fun to fire and share my path. There’s more to come about the firings I’ve done and where I want to take it next. Thank you for looking.